 Consoland
The Canary Logo Pipeline
A prequel to the Canary Story
A story that doesn't quite fit.
I'm about a third of the way through my explainer on Canary v0.1.0. This prequel is a short story about how the canary logo came to be. It makes more sense to keep this as a separate piece. The Canary story is about developing an idea and how general principles for a project became an implementation, this is about using AI in a different way to achieve something that it couldn't easily given the naive approach.
Problem
I suck at inkscape. I can't make a logo on my own, or I can't very quickly or very well. So the idea was to get a basic 2 tone logo as an svg to use for the application using AI. I tackled this 2 different ways with very different results.
Our graphics guy at work could have probably made a better logo than what I eventually generated in an hour, but Canary is not a work project. Heading down-stairs with that request may have raised an eyebrow.
The Naive Approach
Ok. Well we need a logo, 2 colors, a canary. So you ask claude to make you an svg of a canary with a 'canary' yellow color and a complementary accent color. Given simple instructions, Claude takes off, eager as ever to burn tokens on futile tasks.
- Claude: makes 2 ovals and a triangle in an svg file, then opens it in a design language guide html page you never asked it to Build.
- Dev: Responds that the logo doesn't look much like a bird and that Claude should try harder.
- Claude: Runs the process again, shoves the head oval up a bit so the bird looks less like a malformed peanut. Presents this to the dev.
- Dev: Tells claude to maybe look up a reference image and try a little harder. This is a background session after all so it doesn't matter if claude cooks on it for a while.
- Claude: Has received its divine mandate, it will now turn any and all potential energy it can and turn it into heat. Claude decides to try harder it will look at the image in the browser tool, generate a new version, look at a new image, generate, until it hits the five-hour token limit.
- Dev: Logs a message for Claude to stop when it ever comes up for air.
So then, even though claude can and will edit svgs this approach was never going to work. The final cycle, where at least some progress was being made, of nudge-check-nudge-check was expensive from both a time and token perspective. Fortunately, there was another way, in which claude could use tools to guarantee that it got closer to a good final output at every step.
The Toolchain Approach
In this approach, the approach that works, we have the AI generate the image in a series of steps, producing a copy at each step. This gives us visibility of where the process is going wrong and might need adjustment. It also offloads a lot of the actual image manipulation onto tool use. Because tools are known to work, at least for their small step, we leave less room for the AI to make mistakes.
0 - Find an Image
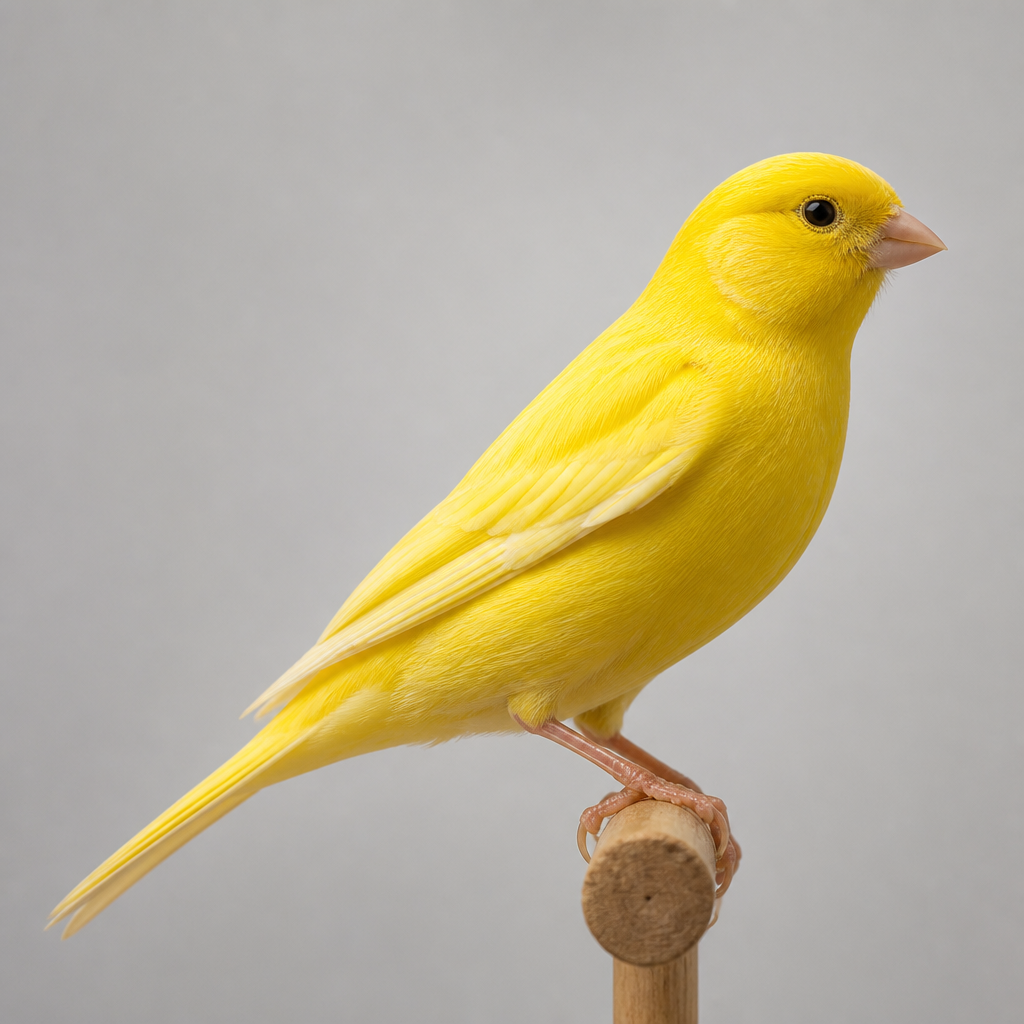
Find an image of a canary on a perch. AIs can be funny. Grok tried to pull a real CC0 photo from Wikimedia Commons to sidestep any copyright issues. The download got rate limited and failed. Rather than stop and ask, it quietly generated a photorealistic canary image instead and used that as the source. I didn't actually know this until I was trying to find the original image for this blog post. Starting with an AI image actually works fine here though, since we are just getting a source to trace.
1 - Remove the Background
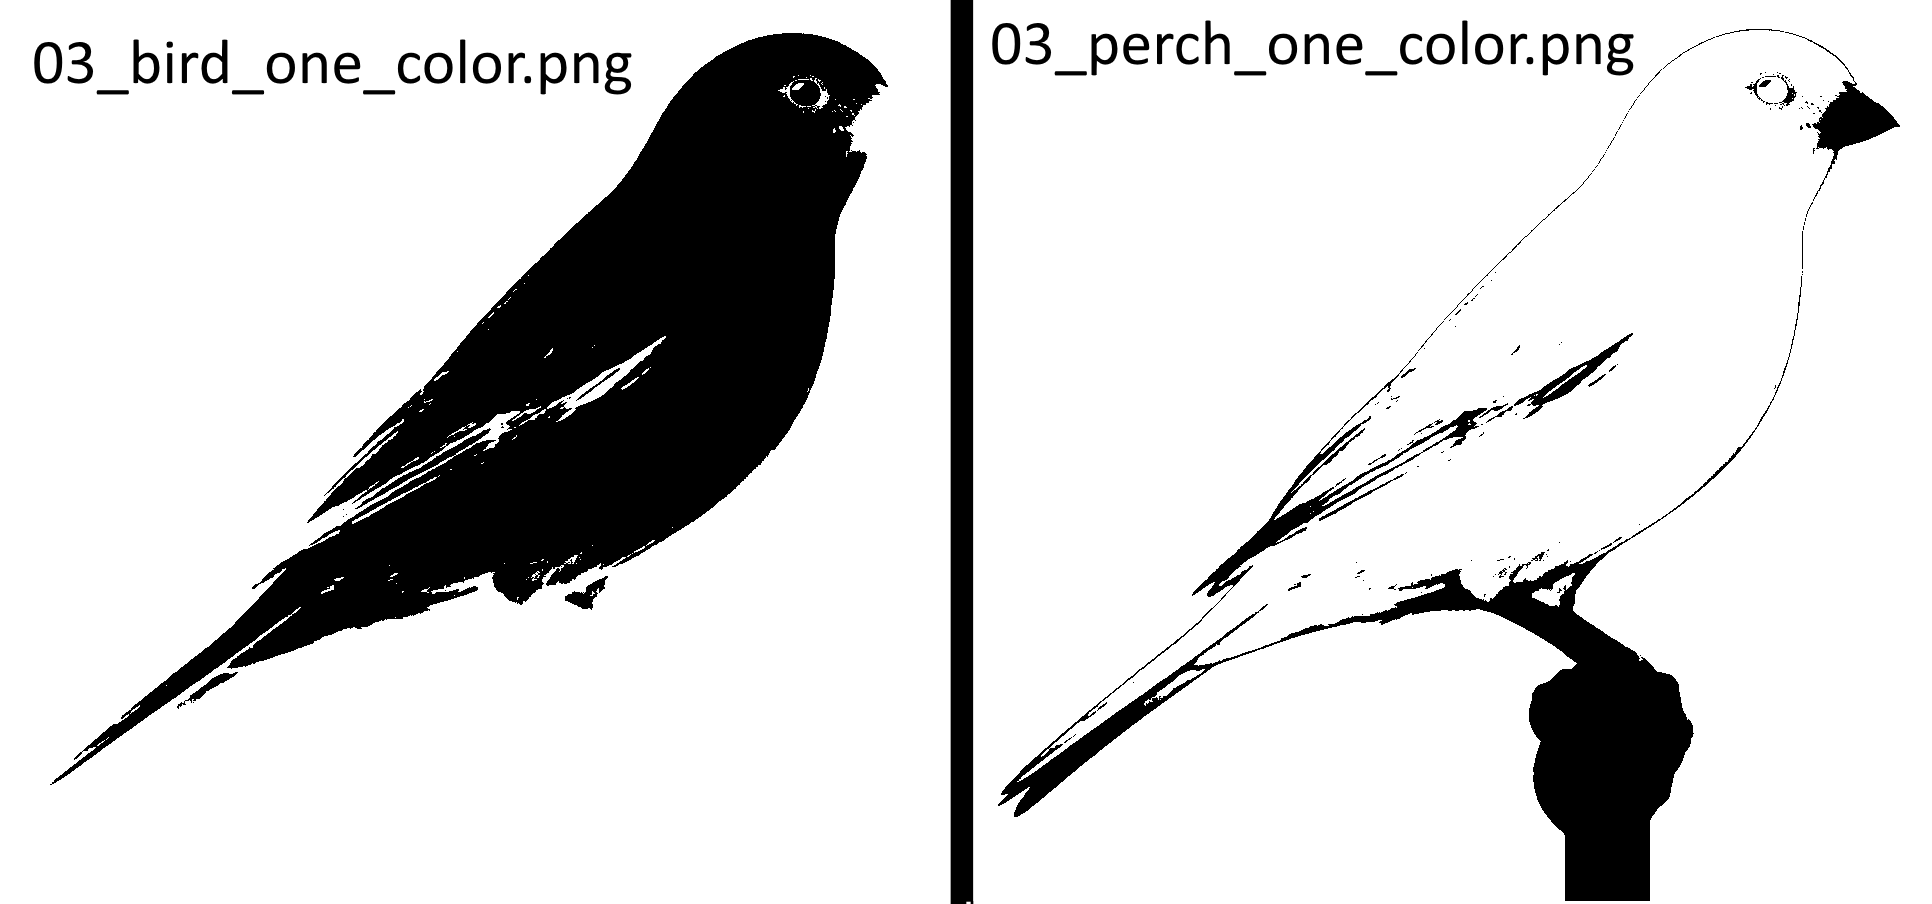
Remove the Background From The Image and then make the Canary all one color and the perch another. Disclaimer here: Here I originally did this with Grok Cursor, instructing it to make the whole image one color and trace it and it did fine. It was only on the second run, when I wanted a multi color output, that it started to struggle. Luckily because Grok was saving all its output steps, it was easy to check where the process had gone wrong.
1.5 - Helping the AI
We were done with Grok after this because I was out of trial tokens. So we would be restarting with claude on the next run (paid subscription). But first I wanted to try and help things along. Thanks to the output files, I had good vision on the AI's whole process. It was then immediately clear how I could help. I could also eliminate a weirdness the output was going to have: the post extending down to the bottom of the image frame. So I opened the source image in Paint.NET and with my middling graphics skills produced this: 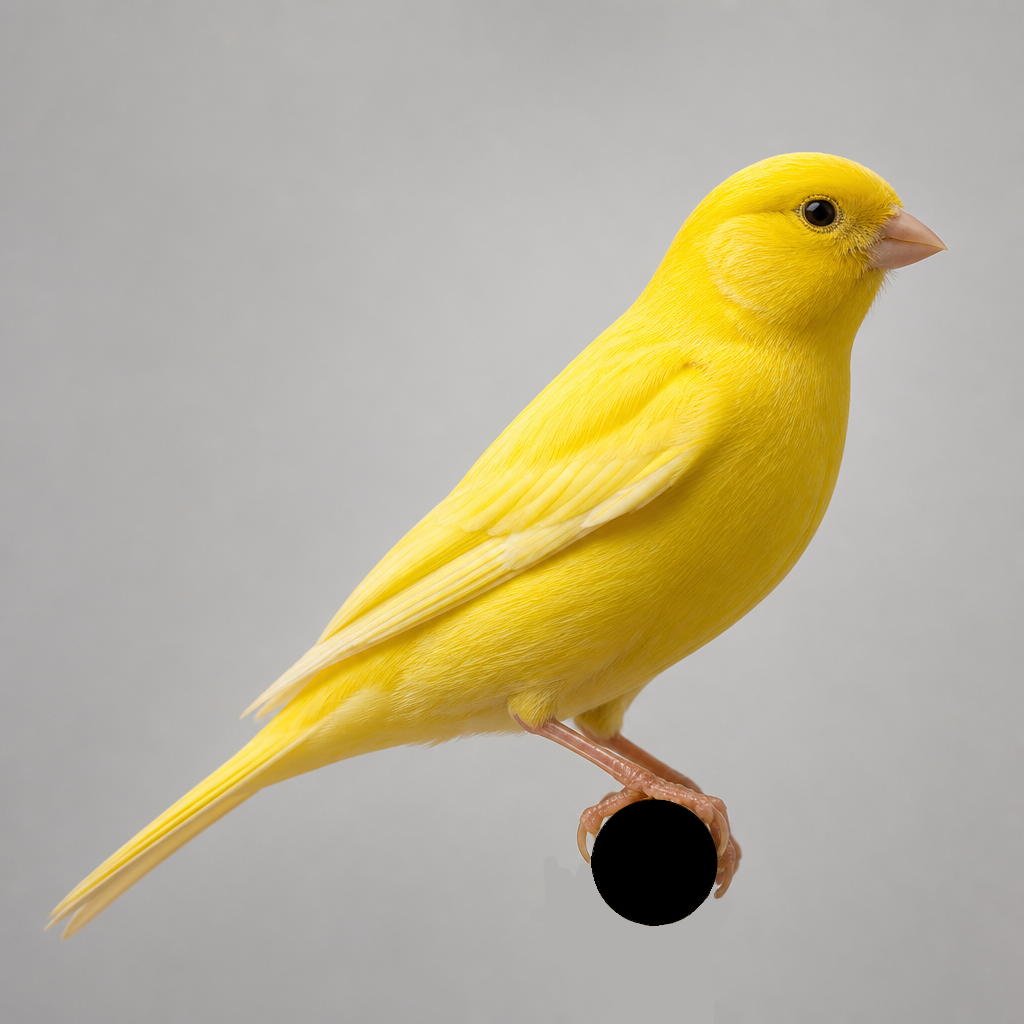 I highly recommend Paint.NET btw. If you need to do light image editing and are not a graphics person, it's fairly easy to use. But now the next AI Tool chain run will have a much cleaner image to split into 2 colors.
2 - Making the SVG
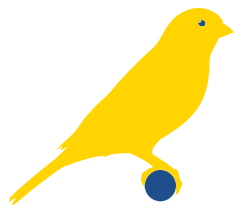
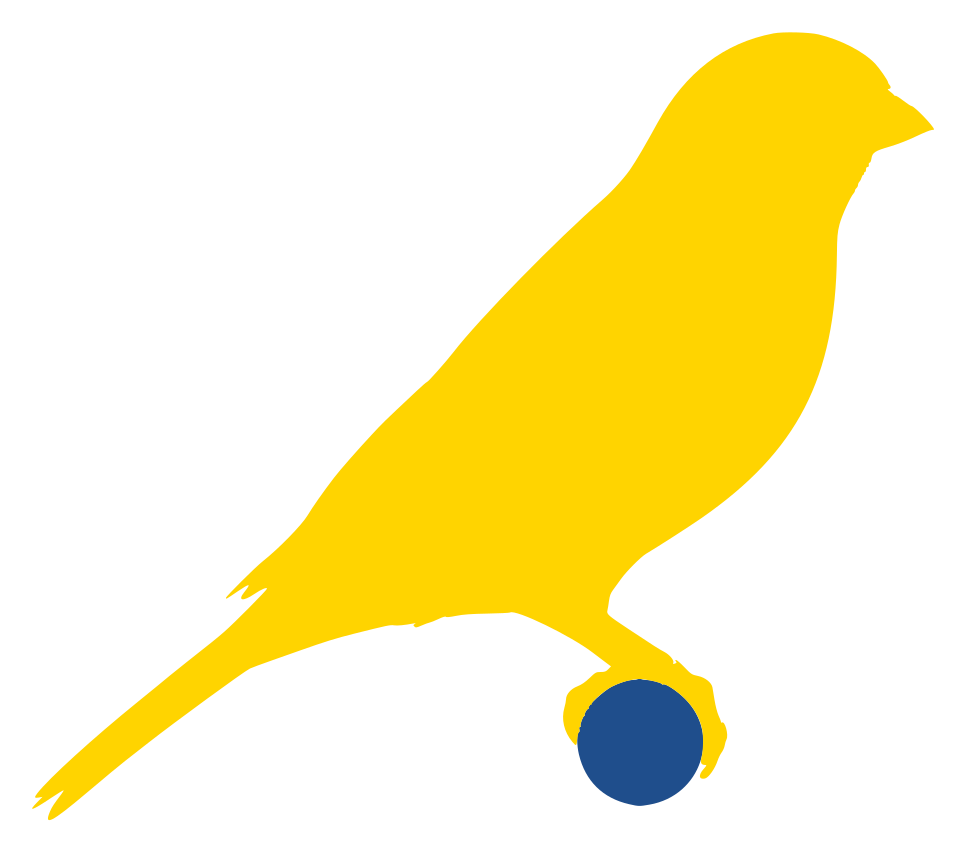
Then trace the output to make a 2 color svg with canary yellow and a complementing color. This step, both Grok and Claude did fine at. I got a crisp outline of the bird on every run. This ultimately resulted in an .svg version of this image, which is close to our final logo result:
3 - Toolchain is Working, Refine the request
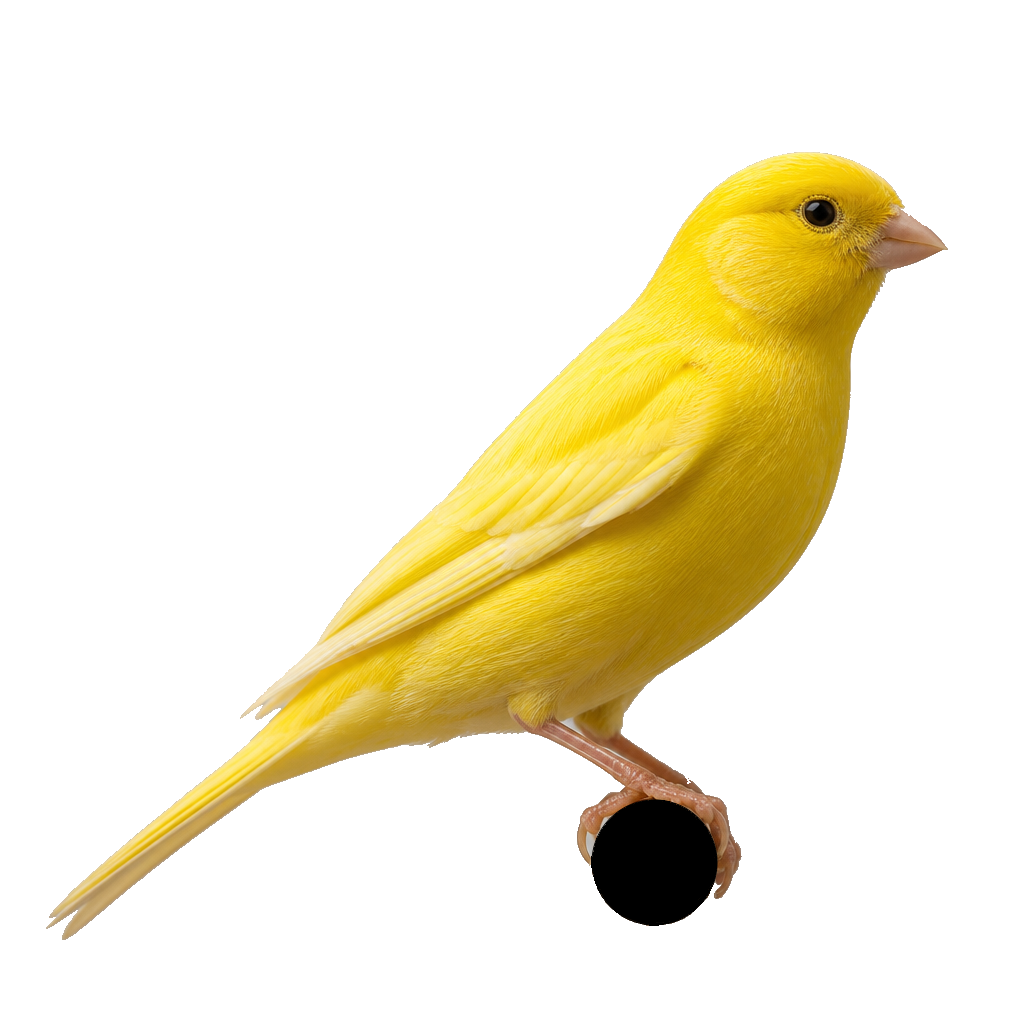
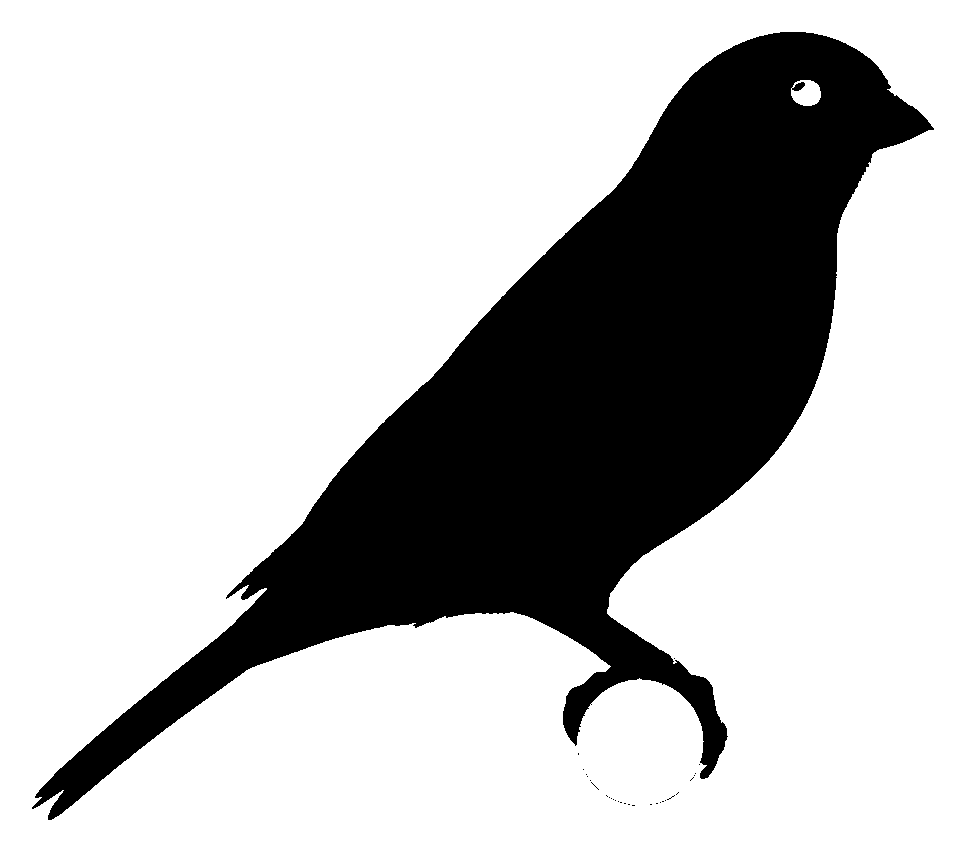
Now run through the entire process again, but this time make the Canary's eye the same color as the perch. A simple change that I knew would be trivial given the eye's dark color and the visibility the toolchain's output had given me. Here is the entire output as a slideshow:

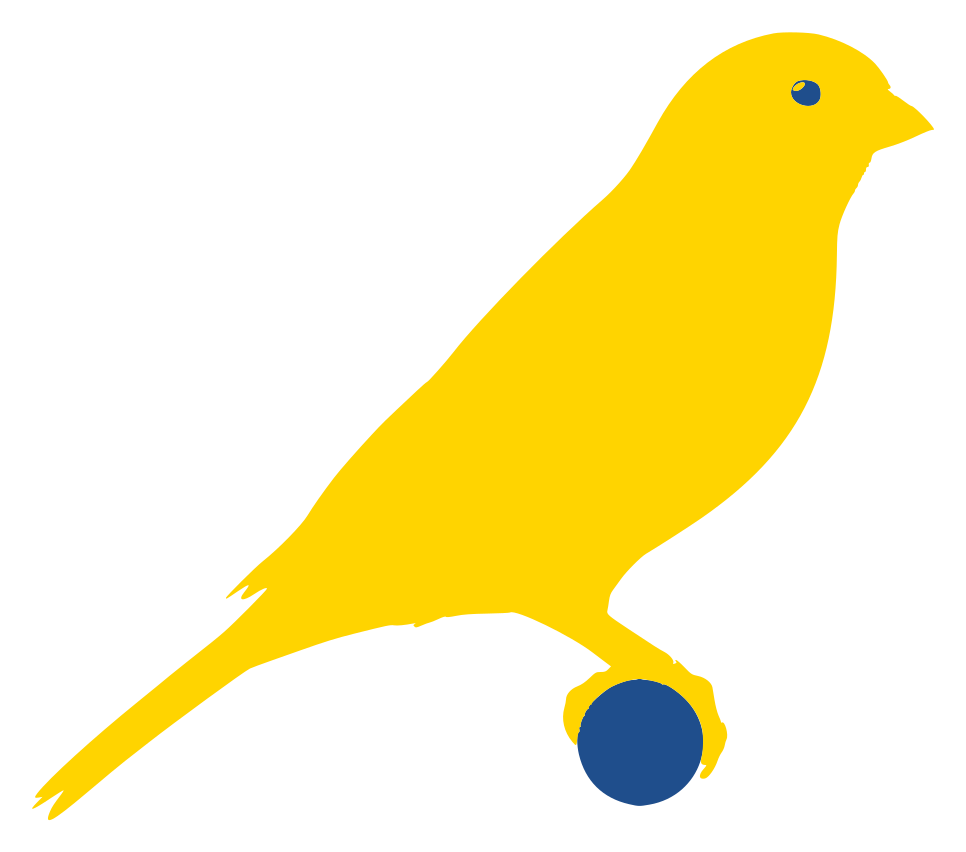
Conclusions
So in about an hour, I was able to generate (at least by my eyes) a pretty nice logo for Canary. Minus some of the learning curves along the way. The Naive approach wasted time and tokens, but I learned an important lesson in using AI tools. When you are operating at the edge or beyond an AI's capability, thinking about how to structure the task in a series of smaller visible steps can still produce a good output. Here are a few takeaways from this toolchaining method:
- Structure: Clear steps with output at the end of each, allowed greater visibility into the AI's process. When things went wrong, I knew where it happened.
- Manual Assistance: I could have argued with the AI for a while trying to get it to edit the source file, but the change was easy, so it was quicker to inject myself into the process.
- Scaled up Toaster: AI's are not just scaled up toasters. They really are an incredible piece of technology. It is, however, useful to think of them that way. Toolchaining is an example of that, breaking up a task into smaller more accomplishable steps.